DIY Pergola Kits: Enhance Your Outdoor Space with Ease

Pergolas truly embody the essence of outdoor elegance, serving as a stylish centerpiece that turns your backyard into a delightful oasis. Their popularity has soared in recent years as they add a distinctive charm and functionality to outdoor spaces, allowing you to enjoy the beauty of the outdoors while providing a sheltered space for relaxation or entertainment.
Today, getting your hands on one is easier and more cost-effective than ever before, thanks to DIY pergola kits! These kits have revolutionized the process, making it possible to install a spectacular pergola in your garden without burning a hole in your pocket or requiring professional help. But how do you choose the right one, build it, and make the most out of it?
That’s precisely what this blog will guide you through! Get ready to transform your outdoor space into your personal paradise with ease and flair!
The Benefits of DIY Pergola Kits
DIY pergola kits provide a range of benefits over traditional custom-built pergolas. First and foremost, they offer significant cost savings. Custom pergolas can be expensive, requiring professional design and installation, whereas DIY kits come at a fraction of the cost and include all necessary materials for assembly.
Secondly, customization is a key advantage. DIY kits typically come in a variety of styles, sizes, and finishes. You can select one that suits your aesthetic preferences and the space available in your backyard. From classic wooden designs to modern metal finishes, there’s a kit to match every design preference and budget.
Finally, the satisfaction and pride of building your own pergola cannot be overlooked. Following the step-by-step instructions, you can transform your outdoor area into something absolutely eye-catching, all by yourself. It’s not just a pergola; it’s a testament to your DIY skills!
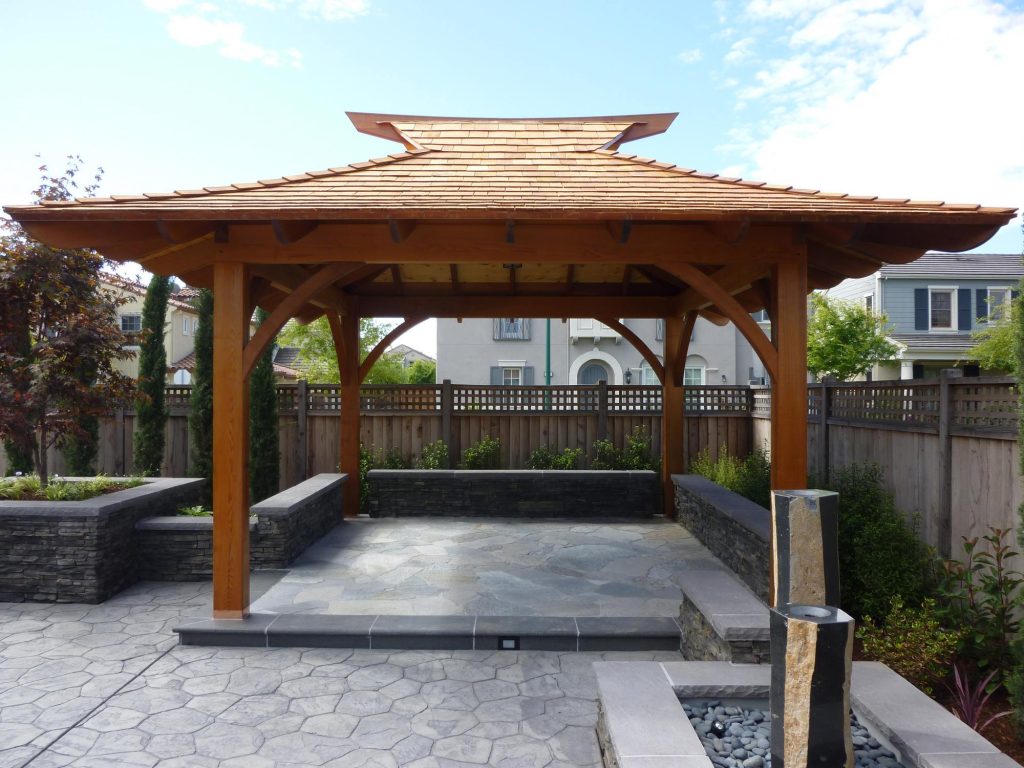
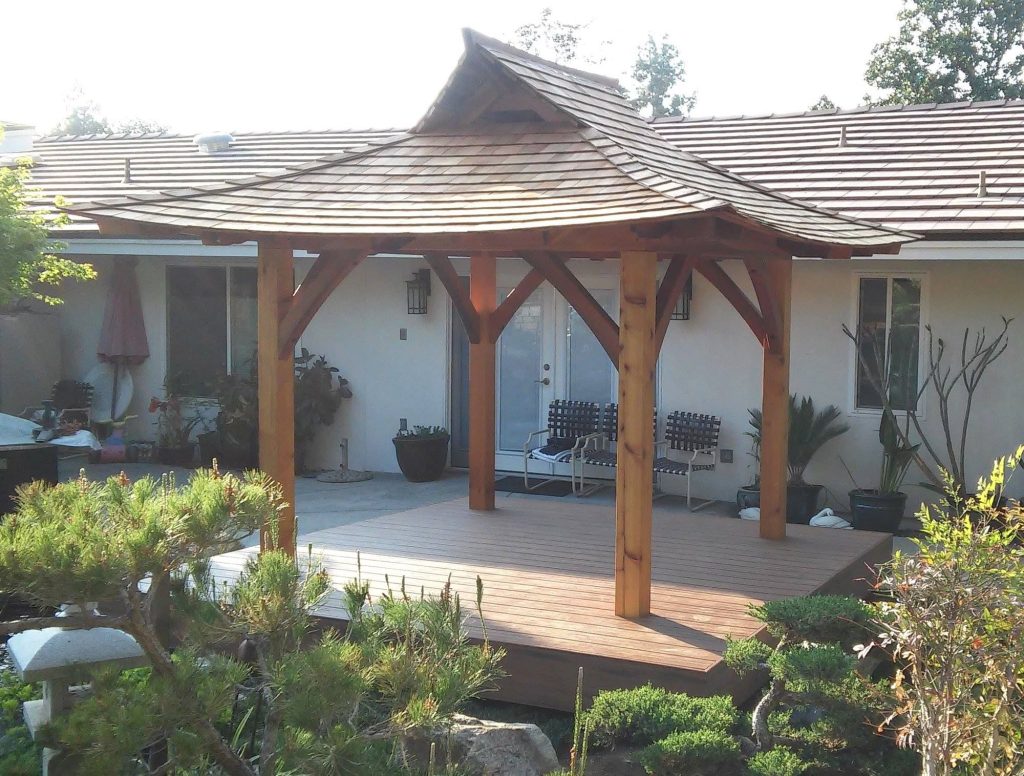
By opting for a curved pergola kit, you can enjoy the luxury of a custom-built pergola without the hefty price tag. Plus, you can take pride in having built it yourself!

Choosing the Right DIY Pergola Kit
Choosing the right DIY pergola kit for your space is akin to picking out a beautiful accessory to perfectly complement an exquisite outfit. There are several factors to consider in making your selection, including the size of your outdoor space, the material of the kit, and the design that resonates with your personal style.
Size matters when it comes to making the most of your outdoor area. A pergola that’s too large can overwhelm a smaller yard, while one that’s too small might not provide the visual impact or functional coverage you’re seeking. Survey your space carefully and consider what size pergola would best fit and enhance it.
Next, consider the material of the pergola kit. Some popular options include wood, vinyl, and metal. Wood offers a classic, natural look and is highly versatile, while metal, such as steel or aluminum, provides modern elegance and impressive durability. Vinyl, on the other hand, is virtually maintenance-free and resistant to weather conditions.
Design is another crucial factor. Whether you prefer a minimalist contemporary style or a more traditional aesthetic, there’s a pergola design out there to match. Look for a kit that not only suits your taste but also complements the architecture of your home and the vibe of your outdoor space.
Don’t forget to consider the climate in your area. For instance, if you live somewhere that gets a lot of rain or snow, a pergola with a slatted roof might not be the best choice. Alternatively, if you live in a hot, sunny climate, a pergola with ample coverage can provide much-needed shade.
In conclusion, the right DIY pergola kit is about more than cost-effectiveness and ease of assembly. It’s about finding a design that enhances your specific outdoor space, reflects your style, and holds up well in your local climate.
Preparing for the Project
Before you dive into creating your outdoor oasis, it’s important to ensure you have all the necessary tools and materials ready. Most DIY pergola kits come with the primary components you’ll need, but you might also require additional tools such as a drill, a level, a measuring tape, a ladder, and safety equipment like gloves and goggles. Having these tools on hand will make the assembly process smoother and safer.
In addition to materials and tools, it’s crucial to obtain any necessary permits or permissions before starting your project. The requirements for this can vary significantly depending on your locale and the exact nature of the project. Check with your local city or county office to learn about the regulations in your area. In some cases, you may need to submit plans or seek approval from a homeowners association. By ensuring you have all the necessary permits, you can avoid potential legal issues down the line and enjoy your new pergola with peace of mind.
Remember, preparation is key to a successful and enjoyable DIY project. With all the necessary tools, materials, and permissions in place, you’re one step closer to adding a beautiful pergola to your outdoor space.
Read More: Exploring the Elegance of a Wooden Pergola with Roof
Step-by-Step Assembly
Building your own pergola can be an immensely satisfying project, especially when you see the final product standing tall and beautiful in your outdoor space. Here’s a step-by-step guide to help you through the assembly process:
Before you begin, make sure you read the assembly manual that comes with your DIY Pergola Kit. This will give you an idea of the steps involved and the tools you’ll need.
Step 1: Laying the Foundation
The first step in building your pergola is to prepare the foundation. You’ll need to identify where you want to place your pergola and then mark out the spot. Once marked, dig post holes according to the dimensions specified in your kit. Pour concrete into these holes to create a solid base for your pergola posts.
Step 2: Erecting the Posts
Once your foundations are set, it’s time to erect the posts. Place the posts in the concrete-filled holes and ensure they are level. You can use a spirit level for this. Once they’re upright and level, secure them in place.
Step 3: Attaching the Support Beams
With your posts in place, it’s time to attach the support beams. These will run parallel to each other atop the posts. Again, ensure these are level before securing them using the fasteners provided in your kit.
Step 4: Installing the Cross Beams
Cross beams or joists are the next components to install. These will run perpendicular to your support beams, creating a grid-like structure.
Step 5: Attaching the Canopy or Lattice
Finally, if your pergola design includes a canopy or lattice, now’s the time to attach it. This will provide the shade you desire while also adding to the aesthetic appeal of your pergola.
As you go through each step, remember to take your time and check your work. A level, sturdy pergola is well worth the effort and patience!
Remember, these are general steps and may vary slightly depending on the specific curved DIY Pergola Kit you’ve chosen. Always refer to the manufacturer’s instructions for precise guidance. Good luck with your pergola project!

Personalization and Finishing Touches
The beauty of a DIY pergola lies not only in the satisfaction of building it yourself but also in the opportunity to personalize it to your liking. Adding thoughtful touches can transform your pergola from a simple structure into a serene and inviting outdoor retreat. Consider adding soft, outdoor-friendly lighting, such as string lights or solar lanterns, to create a warm and enchanting evening atmosphere. Hanging curtains or drapes can give your pergola a luxurious feel while providing extra shade and privacy. For a natural touch, consider climbing plants like ivy, wisteria, or climbing roses, which can add a lush, garden-like quality to your pergola.
Importance of Maintenance
After investing time and effort into building your perfect pergola, it’s essential to maintain it properly to prolong its lifespan. Regularly check for any signs of damage or wear, especially after severe weather conditions. If your pergola is made from wood, consider resealing or repainting it every few years to protect it from the elements and keep it looking fresh. Cleaning your pergola regularly can also prevent the build-up of dirt and debris that could cause damage over time. With proper care, your DIY pergola can stand as a testament to your handiwork for years to come.
Read More: Hidden Benefits of Having a Pergola in Your Backyard
Enjoying your Outdoor Retreat
After completing your hard work and seeing it come to fruition in the form of a beautiful DIY pergola kit, it’s time to reap the rewards and enjoy your new outdoor retreat. A pergola can serve multifunctional purposes – it can be a space for relaxation, an entertainment area, or even a yoga spot.
How you utilize your pergola primarily depends on your personal interests and lifestyle. If you’re someone who loves quiet evenings, consider setting up a cozy hammock or swing, coupled with a small side table to hold your favorite book and a cup of tea. For those who love to entertain, setting up an outdoor dining table with comfortable chairs can turn your pergola into the perfect spot for alfresco dinners and Sunday brunches.
For a tranquil retreat, consider adding a yoga mat and some outdoor cushions for a serene and peaceful yoga or meditation space. If you’re a nature lover, consider installing bird feeders or a butterfly garden near your pergola to enjoy the beauty of wildlife up close.
Remember, the goal is to create a space that welcomes you, a space where you can unwind, relax, and enjoy the outdoors in the comfort of your own home. Your pergola is an extension of your living space – make it your own and let it reflect your personality and style.

Conclusion:
Building your own pergola can be a journey of creativity and craftsmanship, resulting in a beautiful, functional, and personalized outdoor retreat. From laying the foundation to adding finishing touches that resonate with your style, each step is a testament to your hard work and dedication. Remember, individual styles and requirements may vary, but the basic steps of building a pergola remain the same. Regular maintenance ensures that your pergola remains an inviting part of your outdoor space for years to come. Explore DIY pergola kits and embrace the opportunity to enhance your home with a versatile outdoor structure.
We invite you to share your DIY pergola projects and experiences with us. Any questions or comments are welcome. Happy crafting, and remember, for all your pergola needs, don’t forget to check out Wood’s Shop for top-quality kits and professional guidance.
Frequently Asked Questions
1. What additional features can I add to enhance my DIY pergola?
There are many ways to personalize your pergola to reflect your style. You can add soft, outdoor-friendly lighting like string lights or solar lanterns for a warm, enchanting atmosphere. Hanging curtains can provide a luxurious feel, extra shade, and privacy. For a natural touch, consider climbing plants like ivy, wisteria, or climbing roses.
2. How can I maintain my pergola to prolong its lifespan?
Regular maintenance is vital to keep your pergola in top shape. Regularly check for signs of damage, especially after severe weather. If your pergola is made from wood, consider resealing or repainting it every few years to protect it from the elements. Regular cleaning can prevent the build-up of dirt and debris that could cause damage over time.
3. How can I utilize my newly built pergola based on my lifestyle?
The use of your pergola depends on your personal interests and lifestyle. It can serve as a relaxation spot, an outdoor dining area, or even a yoga space. Consider setting up a hammock, outdoor dining table, or a yoga mat based on your preference. You might also consider installing bird feeders or a butterfly garden if you enjoy watching wildlife.