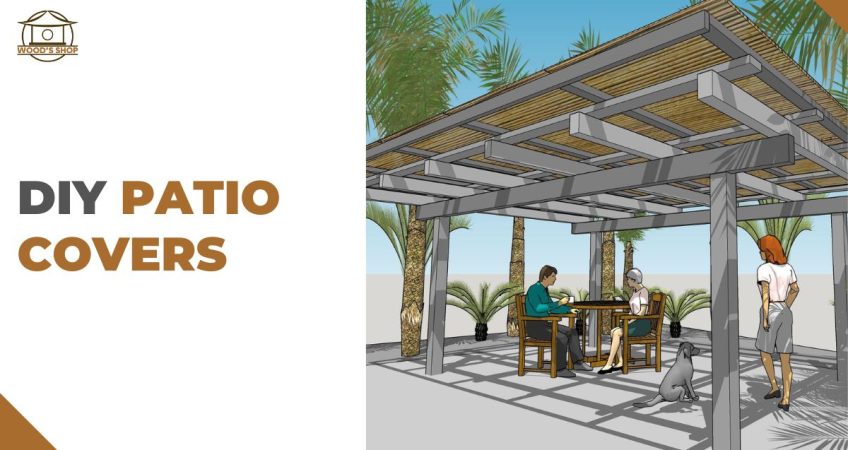
DIY Patio Covers: Transform Your Outdoor Space with Style
Step out into the great outdoors – right in your backyard! DIY patio covers are the secret to transforming your outdoor space into a personal paradise. These nifty additions not only shield your oasis from the elements but also inject an extra dose of style, making your patio the ultimate spot for relaxation, entertainment, or just soaking up the sunshine.
And the best part? With a little elbow grease, you can install them yourself! Patio covers are more than just a shade provider; they’re the key to unlocking a whole new level of outdoor living. So, ready to amp up your patio game? Let’s dive in!
Benefits of DIY Patio Covers:
When it comes to DIY patio covers, the benefits are manifold. Firstly, they offer essential shade, making your outdoor space bearable even in the searing summer heat. They protect your patio furniture from harsh weather conditions – be it rain, snow, or blistering sunshine – thereby prolonging their lifespan and saving you from frequent replacement costs.
Beyond functionality, patio covers significantly enhance the aesthetic appeal of your outdoor space. Whether you prefer a rustic charm or a modern, chic look, you can design and create a cover that complements your taste.
But here’s the crowning glory – going DIY can save you a bundle! By ditching the professional installation route, you cut down on labor costs. Plus, you have the freedom to choose materials within your budget, keeping the entire project cost-effective. In essence, DIY patio covers are a win-win, blending functionality, style, and affordability.
Types of Patio Covers:
There’s a plethora of patio cover types to choose from, each adding a unique layer of protection and style to your outdoor space. Let’s explore some of these variants to help you decide which one best suits your needs and aesthetic preferences.
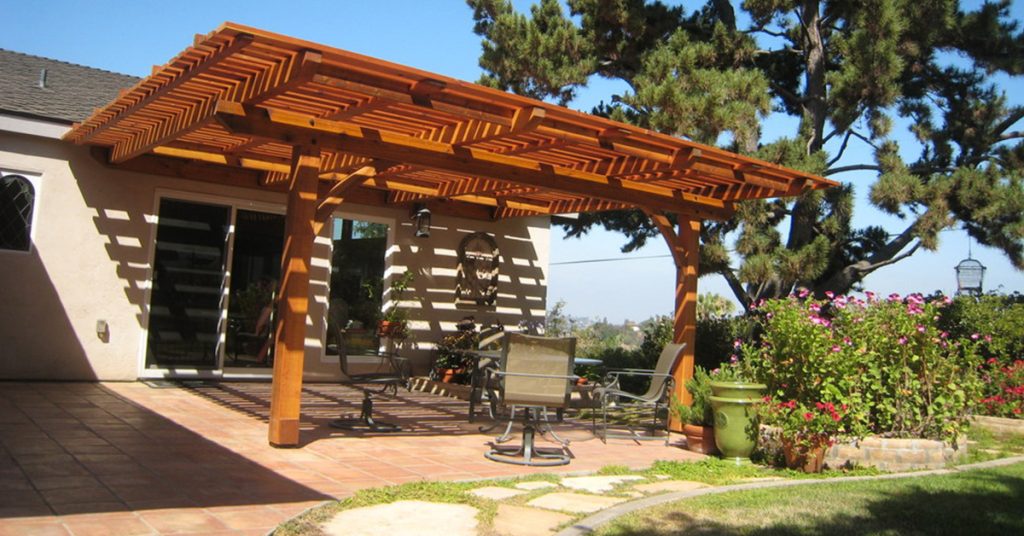
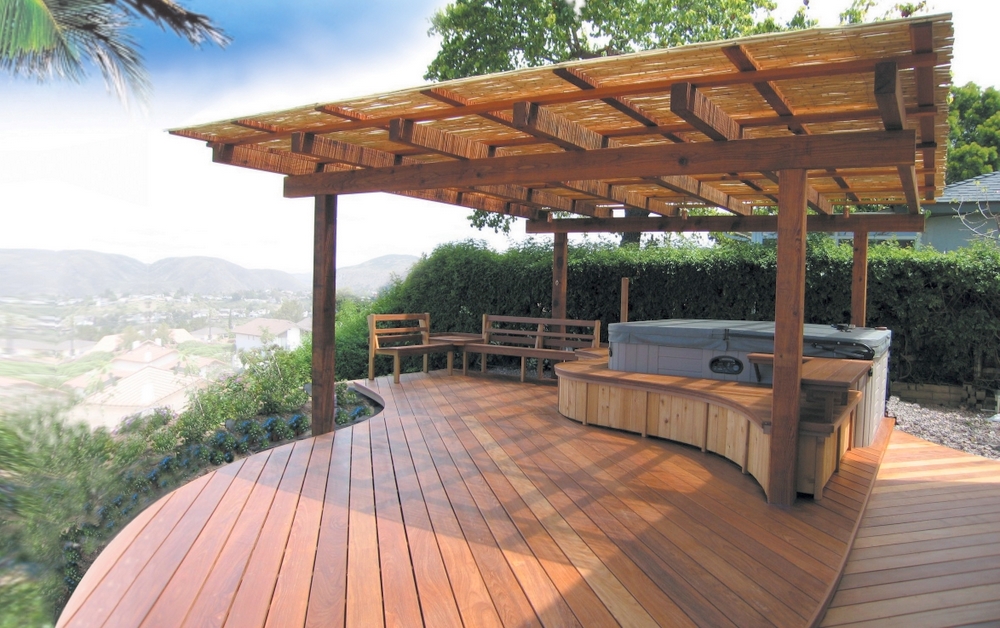
Pergolas:
Pergolas are architectural marvels that blend beauty and function. They are essentially open structures with crisscrossed wooden beams and no walls. Perfect for larger patios, pergolas offer a sense of spaciousness while providing ample shade. They lend a Mediterranean vibe to your outdoor space and serve as an excellent support structure for climbing plants.
Awnings:
Awnings are fabric coverings attached to the exterior wall of your home. They are best suited for smaller patios or decks where space is a constraint. Awnings are a great way to provide shade while enjoying the view of your garden. The big advantage here is their versatility – they can be retracted when not in use, avoiding any potential damage during harsh weather conditions.
Umbrellas:
Lastly, we have Patio Umbrellas. As the name suggests, these are just like your regular umbrellas, albeit much larger. They are the most cost-effective solution among the three and best for smaller outdoor spaces. Additionally, they are mobile and can be adjusted throughout the day to provide optimal shade. The downside? They can’t cover large areas, so if you have a big patio, you might need multiple umbrellas.
Each of these patio covers have their unique charm and functionality. Consider your space, budget, and preference while deciding the right fit. Remember, the goal is to enhance your outdoor living experience while keeping it stylish and comfortable.
Read More: A Guide to Solar Panel Pergolas
Planning Your DIY Project:
Before diving into your DIY patio cover project, it’s essential to plan meticulously. Here’s a step-by-step guide:
1. Set a Budget:
First, establish a realistic budget. This will dictate the scale of your project, the materials you use, and the design you choose. Don’t forget to factor in the cost of tools you might need to buy or rent.
2. Choose Your Materials:
Next, select the materials for your patio cover. Options range from wood to metal to fabric, each with its unique set of benefits and drawbacks. Consider your local climate, maintenance requirements, and aesthetic preferences when making your choice.
3. Design Your Patio Cover:
Now comes the fun part – designing your patio cover. Whether you choose a pergola, awning, or umbrella, make sure the design complements your outdoor space’s existing style. Consider factors like size, shape, and color.
4. Prep Your Space:
Prepare your patio for the project. Clear the area, measure your space accurately, and mark where the patio cover will go.
5. Construction Time:
Finally, it’s time to build. Follow the manufacturer’s instructions if you have a kit or your own design plans. It might be beneficial to have a friend help, especially for larger structures.
Remember, the key to a successful DIY project lies in the details. Plan carefully, take your time, and don’t rush the process. Your reward will be a beautiful, functional patio cover that enhances your outdoor living space.
Materials and Tools:
When embarking on a DIY patio cover project, acquiring the right materials and tools is essential. The materials will primarily depend on the type of patio cover you have chosen. For instance, if you have opted for a wooden pergola, you will need lumber of a certain size and type, screws, and possibly concrete for the posts.

For an eco-friendly choice, consider using recycled or reclaimed wood. It’s not only great for the environment but also adds a distinctive, rustic charm to your patio. For durability, metal patio covers such as those made of aluminum or steel are an excellent choice. They can withstand harsh weather conditions and require little maintenance.
In terms of tools, your arsenal should include a saw, drill, level, measuring tape, and ladder. If you don’t already own these tools, consider renting them from a local home improvement store.
In conclusion, carefully selecting your materials and tools will not only make the construction process smoother but also ensure that your patio cover is both durable and visually appealing.
Read More: DIY Pergola Kits: Enhance Your Outdoor Space with Ease
Building Your DIY Patio Cover:
Building your DIY patio cover can be an enriching experience with the right approach and guidance. Let’s walk you through the construction process from foundation to roof.
Step 1: Setting Up the Foundation
To start with, outline the boundary of the patio cover with string and stakes, marking the positions for post holes. Dig the post holes approximately two feet deep, ensuring they align with the corners of your outlined boundary. Pour concrete into the holes and insert the post brackets.
Step 2: Installing the Posts
Once the concrete has set, place your posts into the brackets and secure them with screws. Use the level to make sure each post is perfectly vertical.
Step 3: Attaching the Beams
Next, attach horizontal beams to the top of your posts using the drill and screws. These beams will provide support to the roof of the patio cover.
Step 4: Installing the Roof
The final step is to install the roof. If you’re using wood, cut the lumber to the appropriate length and secure it to the beams with screws. If you chose a metal cover, follow the manufacturer’s instructions to attach it to the frame.
Remember, this is a generalized guide and the exact steps can vary based on the design of your patio cover. Including images or diagrams in each step can further clarify the process and provide visual guidance.
Building a DIY patio cover requires careful planning and execution. However, with patience and perseverance, you can create a beautiful and functional addition to your outdoor living space.
Customization and Design:
When it comes to customization and design, patio covers offer a plethora of opportunities to express your creativity and enhance your home’s aesthetic appeal. One such idea is the incorporation of lighting. Strategically placed string lights or lanterns can create a warm, enchanting atmosphere, perfect for evening gatherings. Additionally, hanging curtains can add a touch of elegance and provide additional privacy.
As for integrating nature into your space, draping vines or greenery around the posts or on the beams can turn your patio into a verdant sanctuary. The choice of plants, whether it’s flowing ivy or vibrant wisteria, can significantly transform the ambiance of your outdoor area.
When thinking about design elements, it’s crucial to consider your home’s architectural style. A sleek, minimalist patio cover design would complement a modern home, while a rustic, wooden structure might be more suitable for a traditional or farmhouse style. Regardless of the design, it’s important to ensure that your patio cover doesn’t just look good, but is also functional, durable, and complements your existing outdoor living space.
Read More: Maximizing Your Outdoor Space with a Solar Panel Patio Cover
Maintenance and Longevity:
Maintaining the longevity of your DIY patio cover is reliant upon regular maintenance practices. This includes routine cleaning to prevent the buildup of dirt, mold, or mildew, which can damage the material and affect the overall appearance of your patio cover. Using a soft bristle brush or a non-abrasive cloth can effectively clean the surfaces without causing scratches or dents.
To protect the structure from the elements, it is recommended to apply a weather-resistant sealant annually. This can help ward off any potential damage caused by rain, snow, or intense sunlight. If your patio cover is made of wood, consider applying a wood preservative to prevent rot and insect infestation.
Another important aspect of maintenance is inspecting your patio cover regularly for any signs of wear and tear, such as loose screws, cracks, or peeling paint. Addressing these issues promptly can prevent more severe damage and extend the lifespan of your patio cover.
Remember, while aesthetics are important, the structural integrity of your patio cover should be your primary concern. A well-maintained patio cover is not only more durable but also enhances the overall look and feel of your outdoor living space.
Conclusion:
In conclusion, constructing a DIY patio cover is an achievable project that can greatly enhance your outdoor living space. The key factors to consider include design, materials, functionality, and maintenance. A well-designed patio cover should not only look appealing but also be durable and complement your existing setup.
Choosing the right materials is crucial to ensure durability and longevity. Regular maintenance practices, including cleaning and inspections, can extend the lifespan of your patio cover and keep it looking its best. Remember, while aesthetics are important, the structural integrity of your patio cover should be your primary concern.
Don’t be daunted by the task ahead, get your tools ready and embark on this DIY project with confidence. For a wide range of DIY patio cover ideas and support, look no further than Wood’s Shop. Let’s get building!
Frequently Asked Questions
1. What factors should I consider while designing a DIY patio cover?
Designing a DIY patio cover involves considering factors such as aesthetics, the existing setup of your outdoor space, and durability. The patio cover should not only look pleasing but also be sturdy and complement the existing design of your outdoor living area.
2. How important is the selection of materials for my DIY patio cover?
Choosing the right materials is crucial to the longevity and durability of your patio cover. Factors like resistance to rot and insect infestation, as well as the ability to withstand weather conditions should inform your choice of materials.
3. What maintenance practices can extend the lifespan of my patio cover?
Regular maintenance practices such as cleaning, applying wood preservative, and inspecting for signs of wear and tear like loose screws, cracks, or peeling paint, can greatly extend the lifespan of your patio cover. Remember to promptly address any issues you find to prevent further damage.